How to Replace Existing Wall Tiles with Peel and Stick Tiles
Whether it’s to keep your home feeling current and contemporary or to simply refresh rooms with a new appearance, occasional refurbishment can be crucial. As rooms with communal and regular use where water is often involved, bathrooms and kitchens can sometimes need a revamp sooner than other parts of your home.
While a fresh coat of paint and some new appliances can create a new look, you might find after you finish, that your tiling could take attending to. Designed to be waterproof and easy to clean, tiling is often found around sinks and baths, but many homeowners are intimidated by the task of replacing them. From the mess and complexity of the job to the costs, there are many reasons people are put off.
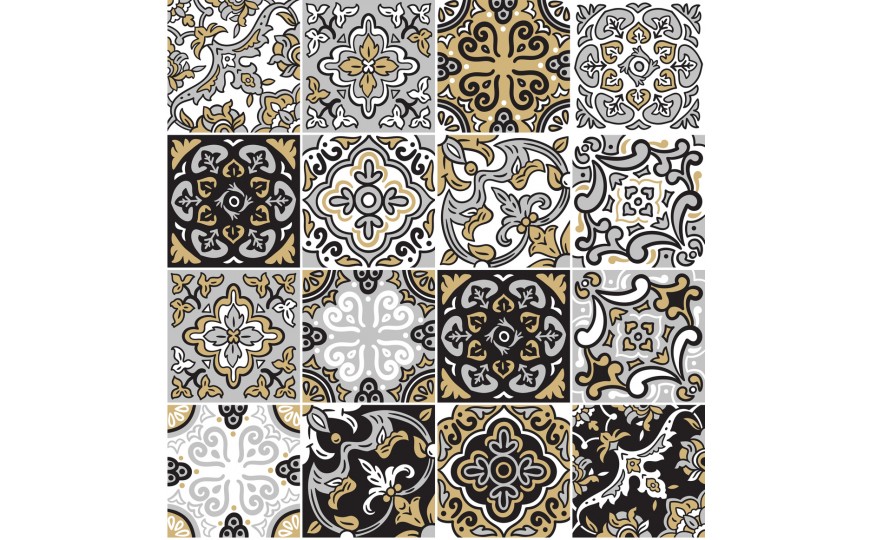
Peel and stick wall tiles offer an answer to these issues, an easy job for DIY fans to take on they’re also an affordable option for those on a budget. In the following sections, we’ll explore how easy it can be to add new tiling with this innovative option that can be simply installed over existing tile work.
Step One - Prepare Your Existing Tiling
To make sure your adhesive tiles stick efficiently and look their best, first you must prep the tiles they’ll be attached to. Use a degreaser and cloth to clean the existing tiles, paying particular attention to any grubby grouting in between as this will still be on show. Whether you have ceramic or glass tiles, ensure their surface is clean and smooth and then dry them with a kitchen towel.
Step Two – Collect your Equipment
You won’t need any specialised tools with peel and stick tiles, just a measuring tape, a cutting pad and utility knife, a ruler, a pencil, and a pair of household scissors.
Step Three – Measuring and Marking
Measure out the tiles that you require to cover the area. If you need to work around tight places like plug sockets, measure the exact size you need and mark the back of your adhesive tiles with your pencil.
Step Four – Trim to Fit
Use your craft knife or scissors to cut the tiles if necessary so they fit the space you need to cover. You can use your ruler to ensure you cut in a straight line and don’t waste tiles.
Step Five - Put your Tiles in Place
Now take your time and simply peel and stick your adhesive tiles and move them into position over your old tile work. Adhesive tiles can be repositioned during your installation for an accurate fit and can be removed at any time using a flat edge tool like a wallpaper scraper.
So, that’s all there is to it, if you’re planning on refreshing the rooms around your home and have further questions on using peel and stick tiles, you can count on us for expert advice.